Saturday, March 31, 2012

Burda 01-2011 #123 Looooong Boatneck Top

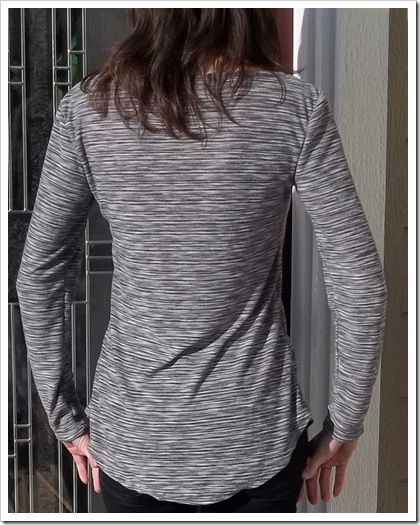
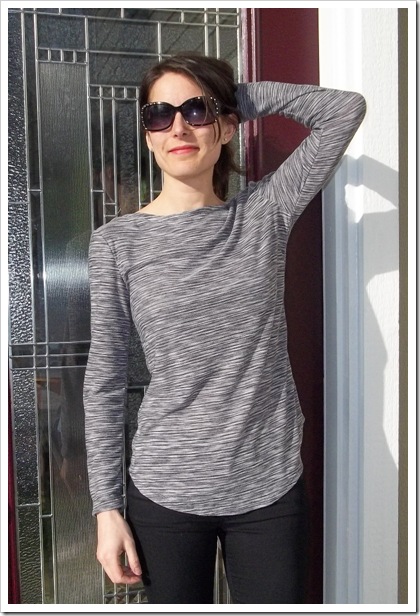
This is a super easy knit top but who doesn’t need lots and lots of knit tops? This Burda version was really long and was more like a dress on me. I cut a size 34 which was the smallest size for this pattern. (It’s sunny and WARM!! I think it’s around 45 degrees!!) This fabric is from the Fabric.com haul from the other day. Unfortunately for you guys, they done sold it all out.
b_0111_123_4b_0111_123_5

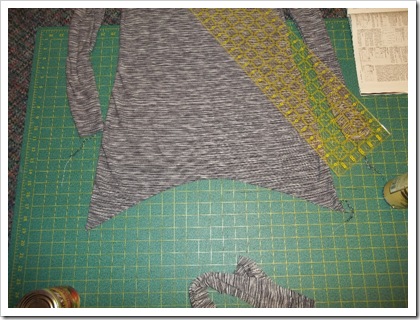
I lopped off the middle section to see if I liked it with longer side hems. Noooope.
b_0111_123_2


Next, I lopped off the two edges to see if I could make it more like this J. Sterns pattern. I made a few of those tops (here and here and here). This reminds me I should make a few more of those tops. In all, I probably took off about six inches off the bottom length.
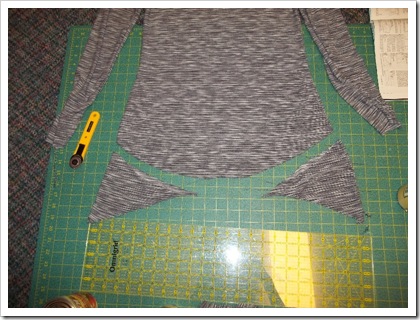
b_0111_123_3


I used my 3/8” guide foot to do the neckline. Burda has you just fold over the neckline and hem. Instead, I made self-fabric neckband that I sewed to the RS, flipped it the inside and stitched from the RS.
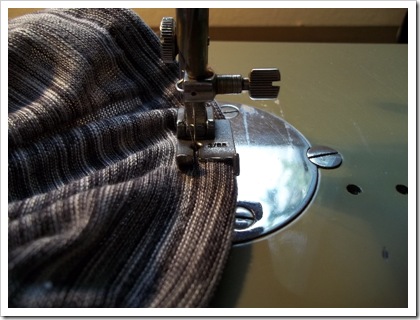
b_0111_123_1


I used wrong side of the fabric. But really, is it still the wrong side if I used for the right side? If you look at my tats below you’ll see the differences.
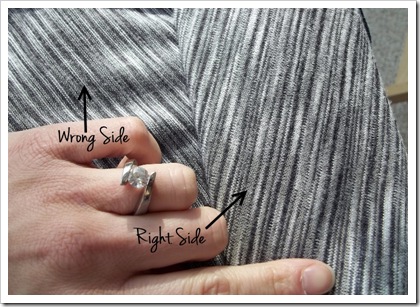
b_0111_123_6


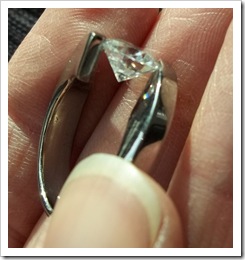
Oh, wait, what??? Shiny? Shiny ring?? What?? Um, yea, I’ve officially wife swapped. Not sure how I feel about that. Well, that part of it. I’m ecstatically happy about this part of it.


And how cool is this ring? And yes, it scares the hell out of me too. It’s insured, that’s damn sure.
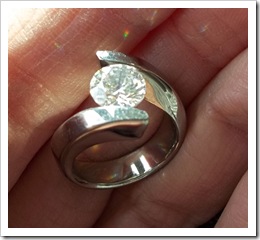
ring_1ring_2

Sunday, March 25, 2012

Burda 12-2010 #123 A-Line skirt with hip pleats

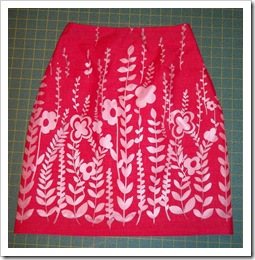
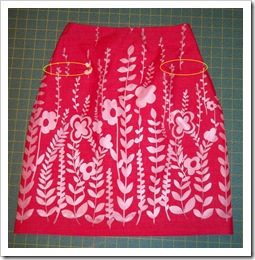
I decided to go with the third option. I liked the shape of the skirt, liked the height at the waist, and thought the horizontal hip darts were a cool feature. With the busy-ness of this print, you can hardy find them in the design.
b_1210_123_6 b_1210_123_12

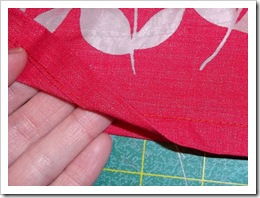
I made a 1/2” double-folded hem at the bottom and topstitched it. I like the look of it.

b_1210_123_7


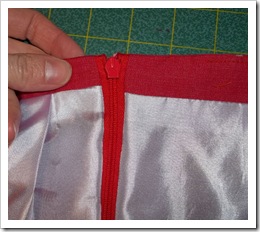
I added a lining to this skirt and, looking at this facing, didn’t do a good job of matching everything up. I can tell you that the invisible zipper from the RS looks great, like really great. I am proud because I used a totally different zipper foot to do it and I think it turned out even better than the normal invisible zipper foot I normally use. I used a light pink rayon lining for the inside.
b_1210_123_8


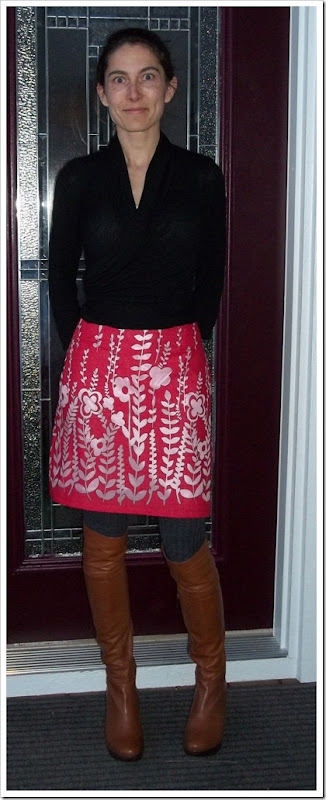
Why hello, Crazy Eyes, nice to meet you. Here is the skirt worn with my Simplicity 2603 cardigan. I love that thing. I want to make it a bit spring-ier but it’s still pretty cold out so boots and sweater it is. I’ll probably wear it with tights, flats, and a cute top later but not now, Sister. I love how the lining really makes the burnout sections pop.
b_1210_123_9


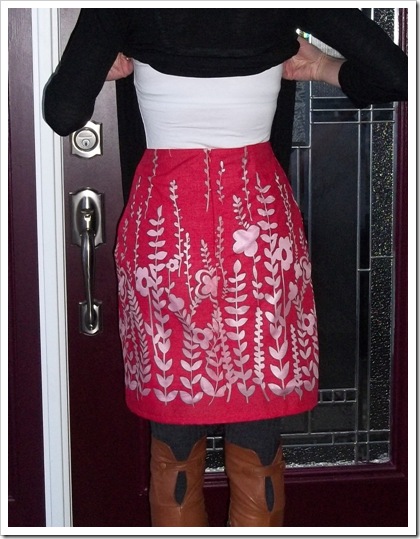
Here’s the back. With the crazy print, you can’t see my awesome zipper.
b_1210_123_10


Here you can see it sits a bit higher up on the waist. I’m doing Sassy Pose here but still have the Crazy Eyes so I cropped it.
b_1210_123_11


I’m not in love with this but I think it’s mostly how I styled it. I think it’ll be much cuter with tights, flats/sandals, and a springy top.

ETA: For those of you who asking about the Burda Archives. I use this link to the Russian site.

Thursday, March 22, 2012

Trying to pick the pattern . . .

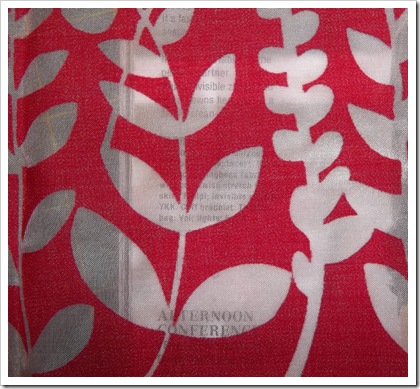
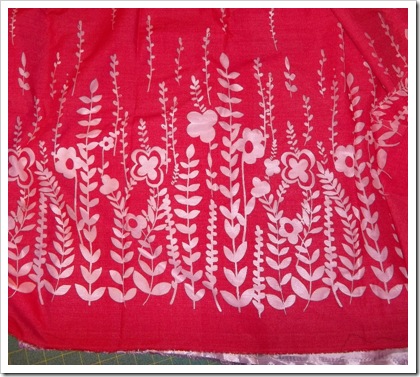
I have this fun rayon burn-out fabric from GorgeousFabric.com and I’ve been trying to figure out to use it. It’s a border print so it’s been kind of hard to use. It’s very see through so I’ll have to line it with something. I think a white or light color will really make the burn-out areas really stand out.

b_1210_123_1


Here’s a larger section so you can see the border.
b_1210_123_2


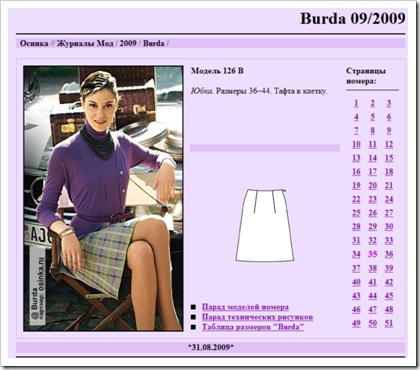
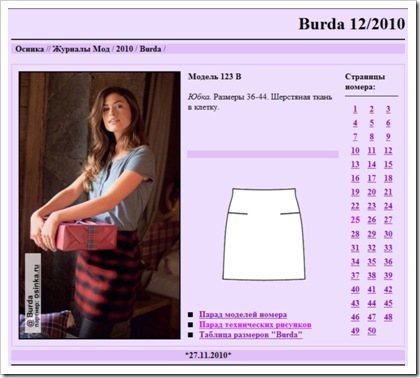
I think I’ve decided to make an A-line skirt out of it. I’ve narrowed it down to these choices in Burda. Had anyone figure out how to find the technical drawings now? When they changed their website to BurdaStyle, a bunch of good stuff went away. Now I go to the Russian site to see the tech drawings of the older Burdas. It’s actually not too bad because they go all the way back to 2001.
b_1210_123_3b_1210_123_4b_1210_123_5

What do you guys think? I’m leaning toward the 12-2010-123 with a little added length or the 09-2009-126. I don’t think either one will mess up the print too much.

Wednesday, March 21, 2012

Okay, last one, I swear!!

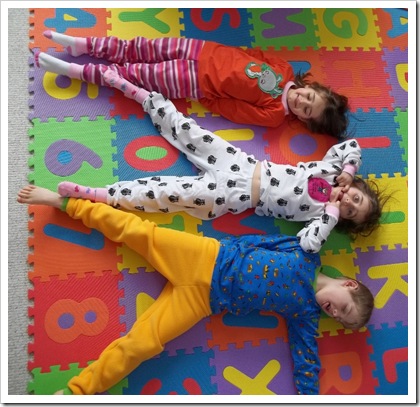
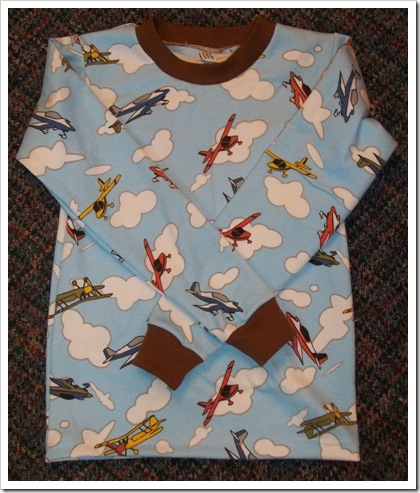
I jut had this photo op this weekend with all the jammies and thought you guys would love to see how big the kidlets have gotten. I swear I’m actually working on actual sewing projects too. It’s funny too. My son begs me to wash the jammies every night so he can wear them every night. It’s kinda cute. :)

ks_3234_19

Thursday, March 15, 2012

Last pair, I swear!!!

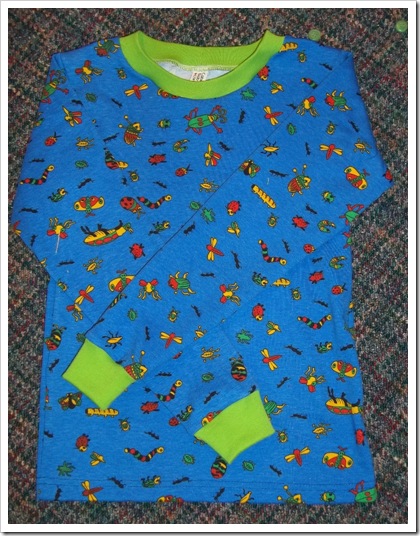
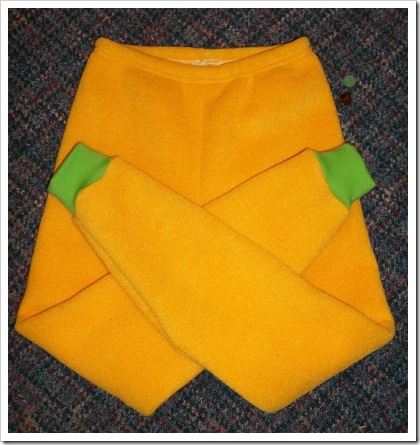
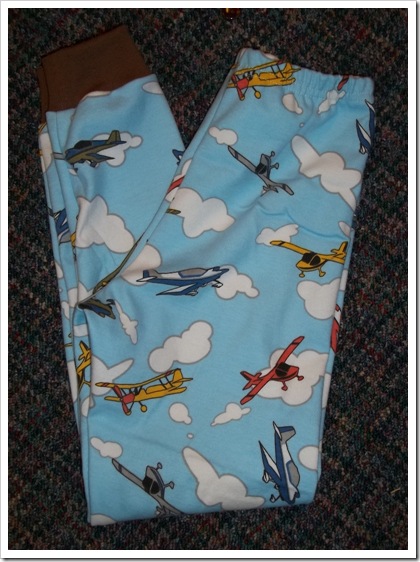
I won’t bore you with any details. You’ve heard them all here and here. This time I used a cute cotton knit with buggies for my son and a Malden Mills Polartec 200 pair of pants. Poor kid is skinny and is always cold. These should keep him warm.
ks_3234_16ks_3234_17


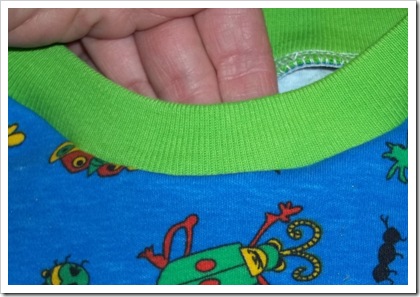
Here’s a close-up of that nice rib knit.
ks_3234_18


I have to figure out what to make next. I’ve been mostly working on knits for me but it may be time to make another KwikSew Dress. I’m thinking of this one.
Tuesday, March 13, 2012

Another pair of jammies. Yaaaawn . . .
I told you guys there were a few more sets of these. These sets are for my son. I’ve got one completely done and the other set should be done in a day or so. I just need about 10-15 minutes to finish them up. Instead, I’m posting to my blog.


This set is using a cotton knit I bought from Fabric.com a long time ago. It’s been, uh, aging in my stash for a year or maybe more. Is it not the cutest print? I’m still using the same KwikSew pattern #3234. He is in the M size range so I have many more years to use this pattern as it goes up to an XL size range. That corresponds to a size 12-14 so, like I said, many years.
ks_3234_14ks_3234_15

I’ve gotten a few questions about my knit ribbing. It’s hard to find good quality ribbing for stuff like this. I buy mine from Chez Ami which is a children’s clothing online store. They also sell fabric. They often have pastel colors but I bought some brown, lime green, pink, and turquoise a few years ago. It’s good stuff.

Okay, just one more set of jammies to blog about and then I’ll make something for me!

Sunday, March 11, 2012

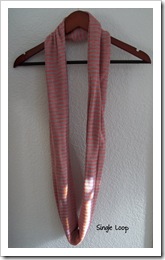
Infinity Scarf–Tutorial

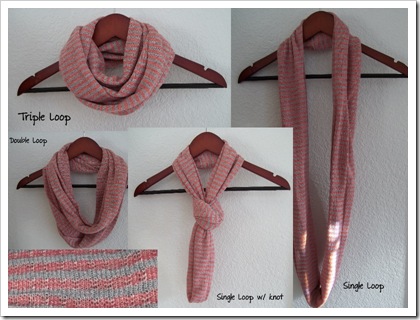
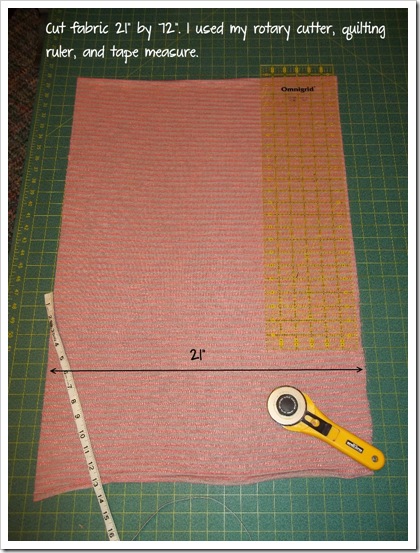
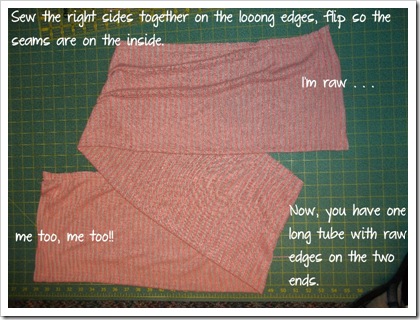
This is not a hard project at all. From cutting to hand sewing my opening shut, it took less than an hour. I used one of the sweater knits from Fabric.com that came in the mail a few weeks ago. It’s very cute fabric. It’s very sheer so it would have been hard to use as a top. I took pictures along the way in case anyone wants to make their own.

infin_14


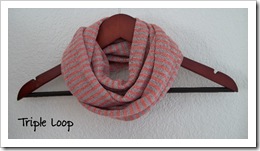
The 72” is negotiable. I happened to have exactly two yards so it was 72” but you could do it with less fabric. I can fold my scarf three times around my head at this length. You could definitely go smaller and only do two wraps around the noggin.
infin_2


Obviously, I had too much fun while writing this.
infin_3


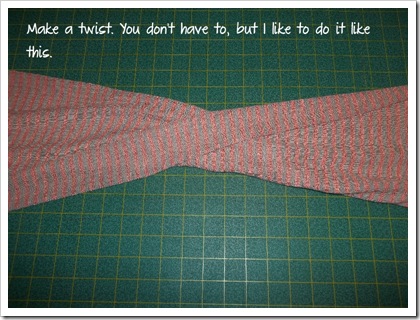
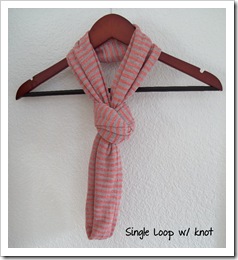
The scarves I saw at Nordstroms all had a twist like this.
infin_4

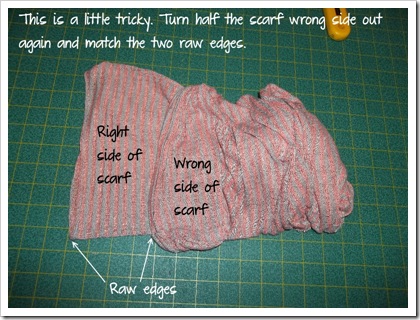
infin_5

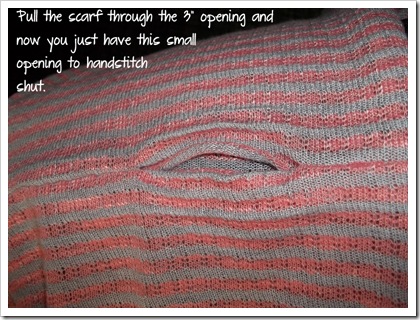
infin_6


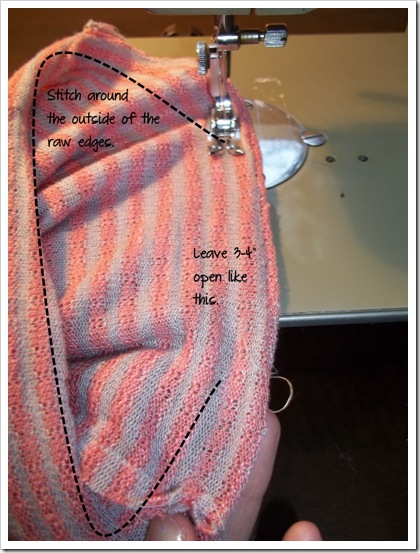
Does this opening remind you off these creepy little kids toys? I mean, what the shit. They creep me out and I’m an adult. No, really, watch the weird little promo video.
infin_7


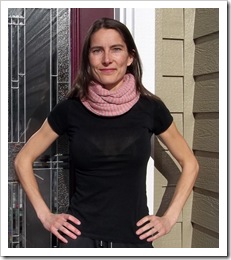
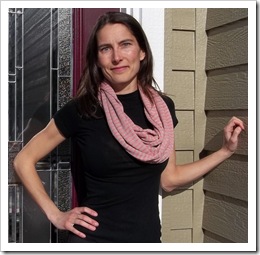
Boy, I look angry in these photos. It’s only because the sun has come out and us Alas-kans can’t handle bright light. We are like moles. Remind me not to wear that shirt in bright sunlight with a black bra. I’m not really selling this scarf with my angry, frowny eyes and pasty skin but it’s really cute!
infin_8infin_9


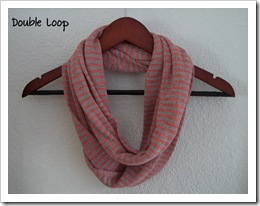
Here are a few close-ups. I love the fabric.

infin_10infin_12infin_11infin_13

Thursday, March 8, 2012

Second pair of jammies

Okay, here’s the second pair. Next I need to make some for my son. He requested “warm fuzzy” jammies so that is what I will make him.


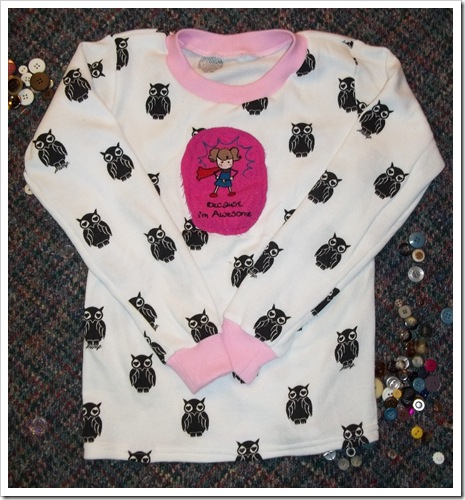
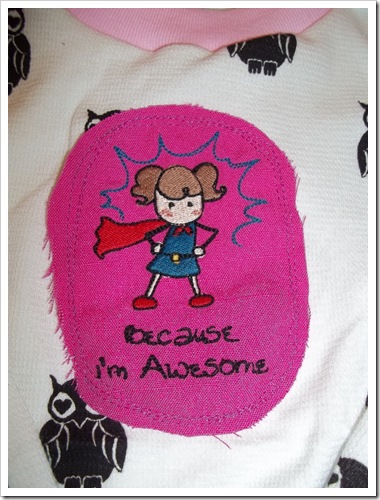
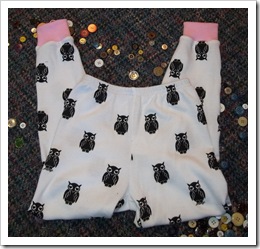
I used the same KwikSew 3234 pattern for these. I also used the cutest Urban Threads embroidery for the front. The owl print is some thermal knit from Fabric.com.
ks_3234_8


I stitched the embroidery out on a piece of cotton and left the raw edges. I went around the edges with matching thread about three or four times. She’ll love it.
ks_3234_9


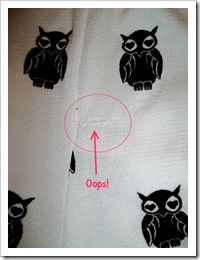
Here are the matching pants. See my oopsie? When I was cutting this, I didn’t realize I need to move the pattern over a little bit. I ended up with a little mending job before these were ever even worn. It’s not very noticeable.
ks_3234_10ks_3234_12


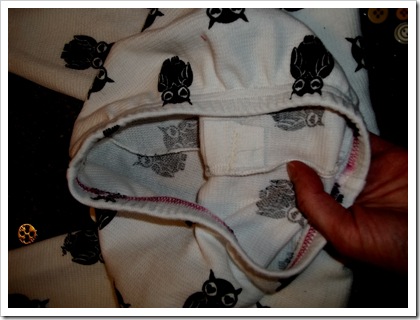
To fix it, I added a piece of matching fabric to the inside and then used a zigzag stitch from the RS to “darn” the little hole together. ks_3234_13


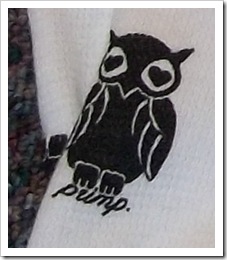
What’s that you say? It has little words on it? What does it say? Oh, right, “pimp.” PIMP??!? Oh shit, I don’t want my girl’s jammies to say pimp on them. Oh wait, they say “primp.” Much better. I admit I did a little oh-my-gawd moment when I thought it said “pimp.”
ks_3234_11

Tuesday, March 6, 2012

KwikSew 3234 (again I know, boring!)

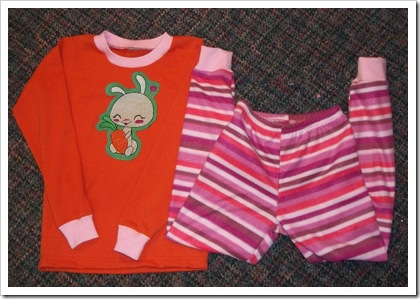
I know I’ve told you over and over again how much I love this pattern. I’ve made it so many times (here, here, here, here, here, and here to name a few) and the kids love this pattern. They beg for new jammies all the time. Here’s the pair I’ve been sewing lately (with the very happy bunny). This pair, of course, is for one of my twin girls.
ks_3234_4


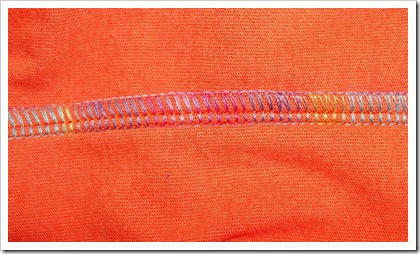
I love using the variegated thread on the inside in my loopers. ks_3234_5


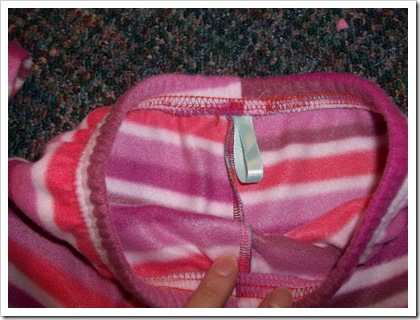
I always put a loop or tag in the back so they know the back from the front. Not that it matters, really. They’ll put them on backwards if there is a tag or not.
ks_3234_6


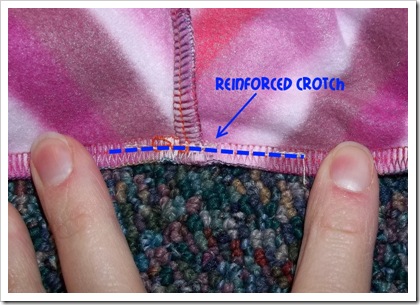
When I serge things that will get a lot of use, I reinforce key seams. On these jammies, I reinforced the underarm seams and the crotch.
ks_3234_7 

Hmmm, other details. I used 3/4” elastic in the waistband. I applied it first with the 4-thread overlock and then used my coverstitch machine to finish it. The cuffs are ribbed knit light pink to match everything else. I should have a second pair to show you in a few days. The pants are made from a pink striped microfleece and the top is an orange knit from Fabric.com. I made a shirt out of it here.

Sunday, March 4, 2012

Special Tools and The Bunny

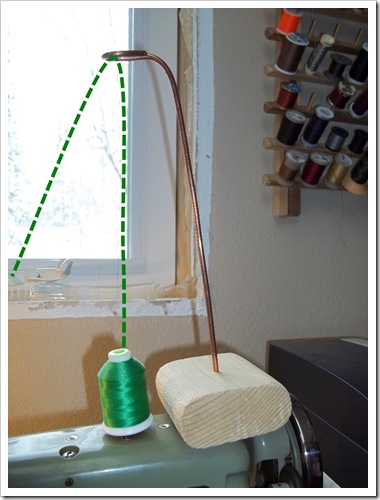
I often make or improvise my own tools for the sewing room. I figured I show one to you today that I use often. I often try to use embroidery thread on my sewing machine and sometimes doesn’t work because the spools are too big and heavy. My go-to machine (an older Necchi that I loooooooooooooooove) has a thread holder in the vertical position and the embroidery spools don’t spin like say, a smaller Coats and Clark spools would. The thread gets pulled super tight and then usually breaks. So I created this little guy so the thread would be taken off the spool from the top instead. No pulling, no broken threads.

All that it takes to make it is a stout piece of wire (mine is copper) and a wooden block. I drill a hole in the wooden block, push the wire into it and voila. A new sewing tool. This one just sits on top of my machine and pulls the thread up and then I thread the machine like normal. (Pardon the window, we are still in progress with the house remodel)
bunny_4


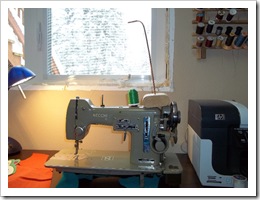
Here’s the complete picture. I use this guy for a lot of things. I have really large spools of embroidery thread in black and white that don’t fit in my embroidery machine. I do the same thing except, I put the wire/wood do-hicky in my thread rack above the machine. It does the same thing there.
bunny_3


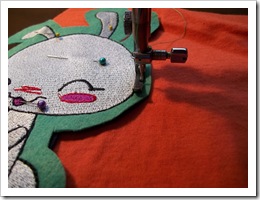
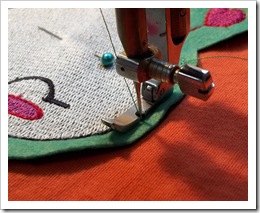
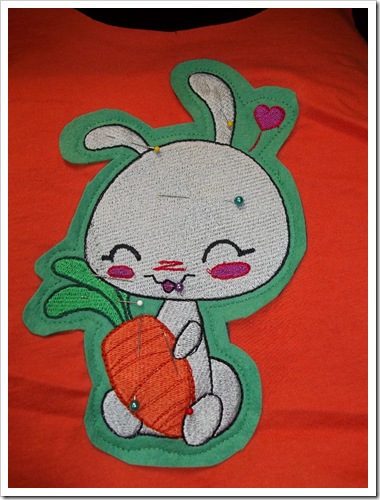
Like I said in my last post, I’ve been making jammies for little people. I used a pattern from Urban Threads called Happy Bunny. It’s cute isn’t it? They have the best embroidery over there don’t they? I thought I’d show you how I use my zipper foot to get really accurate results on stitching around said bunny. I first embroidery this design on wool felt. Now I’m attaching it to the front of the shirt.
bunny_1bunny_2


Cute, eh? This is a very happy bunny. I pin the crap out of it knowing it’ll shift around while I’m going around it with the sewing machine. When you pin stuff like this, make sure you pin it horizontally as well as vertically. That way, it can’t shift in any direction.
bunny_5

I should be done with the whole outfit in a day or two to show you.